Week of 06/11/22 - 06/17/22
- Jun 22, 2022
- 5 min read
Updated: Jun 28, 2022
The group
The Controlled SHT30 Temp Sensor Test Trials
Update the Atmospheric Code
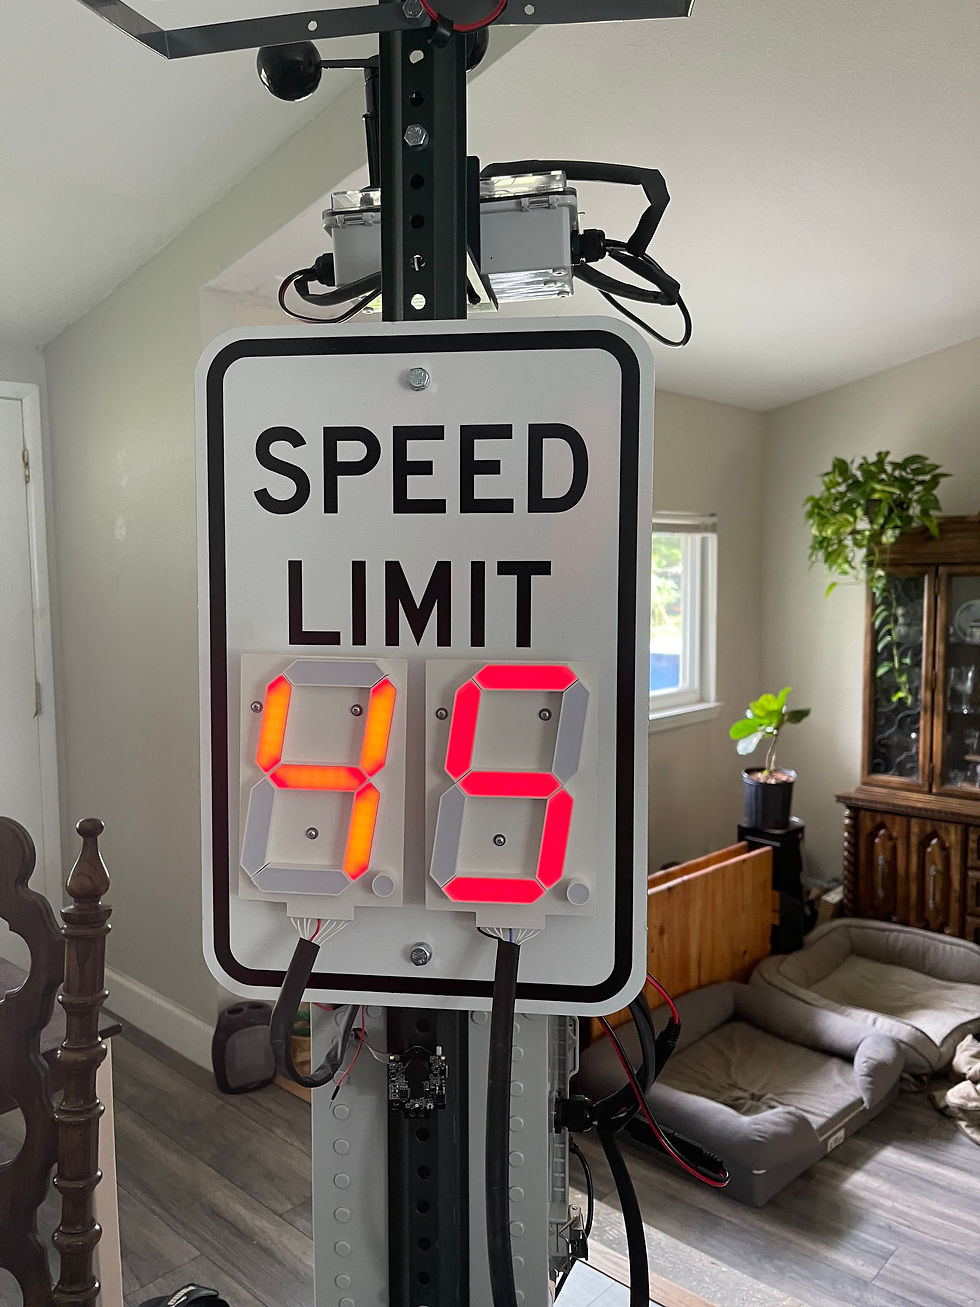
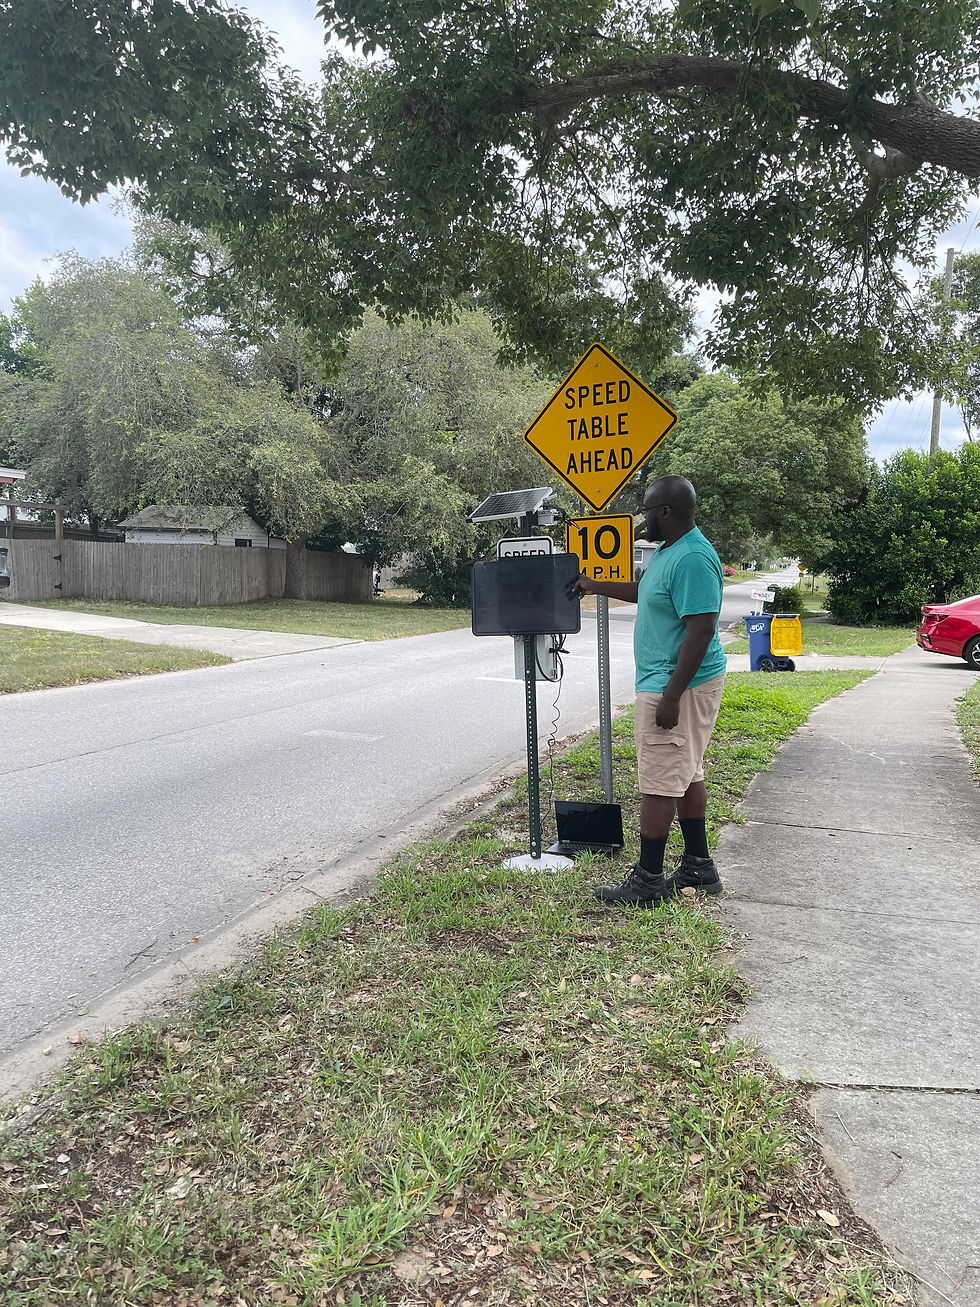
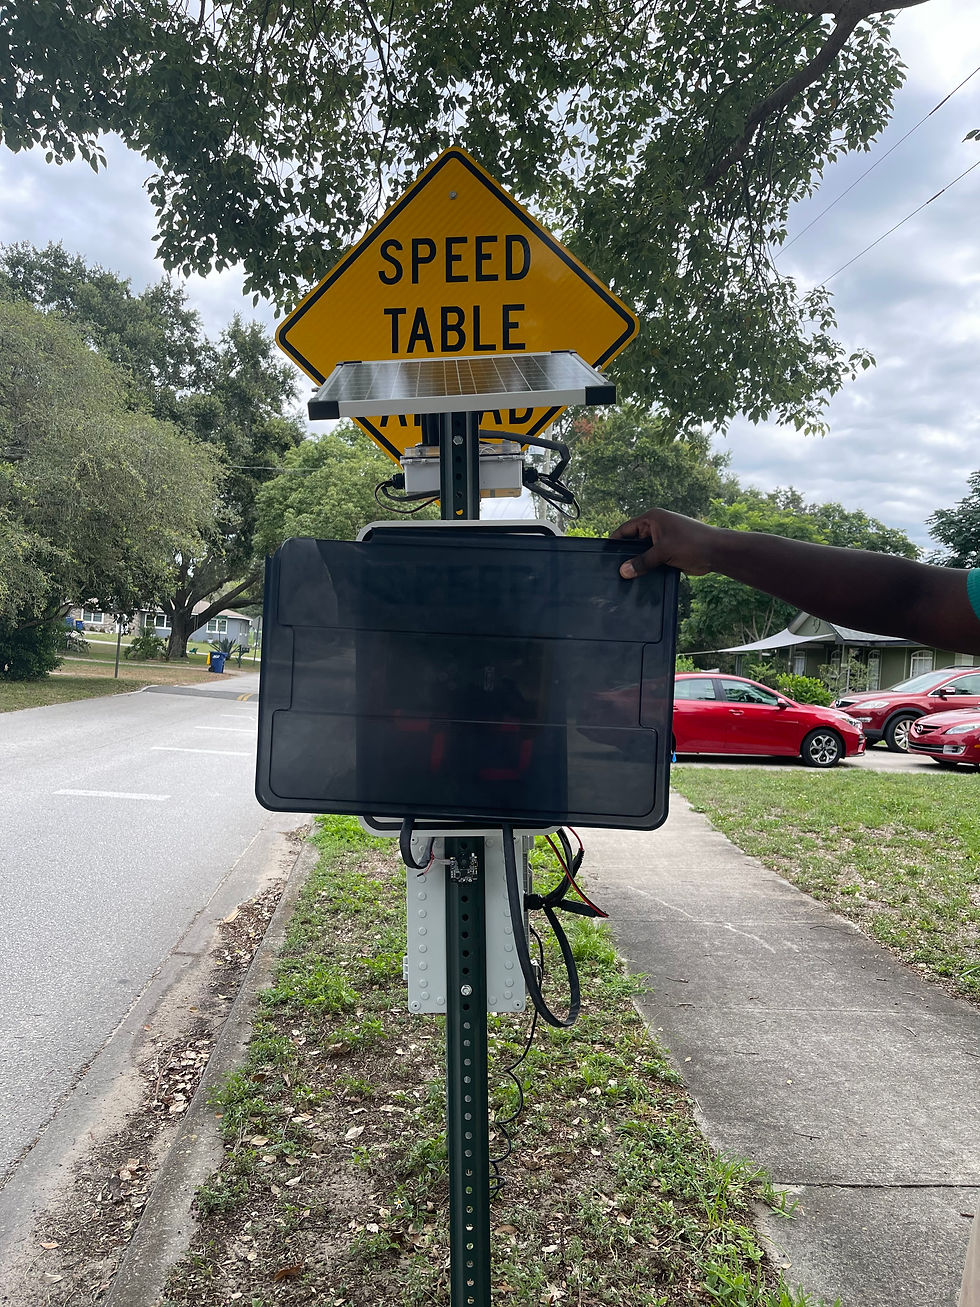
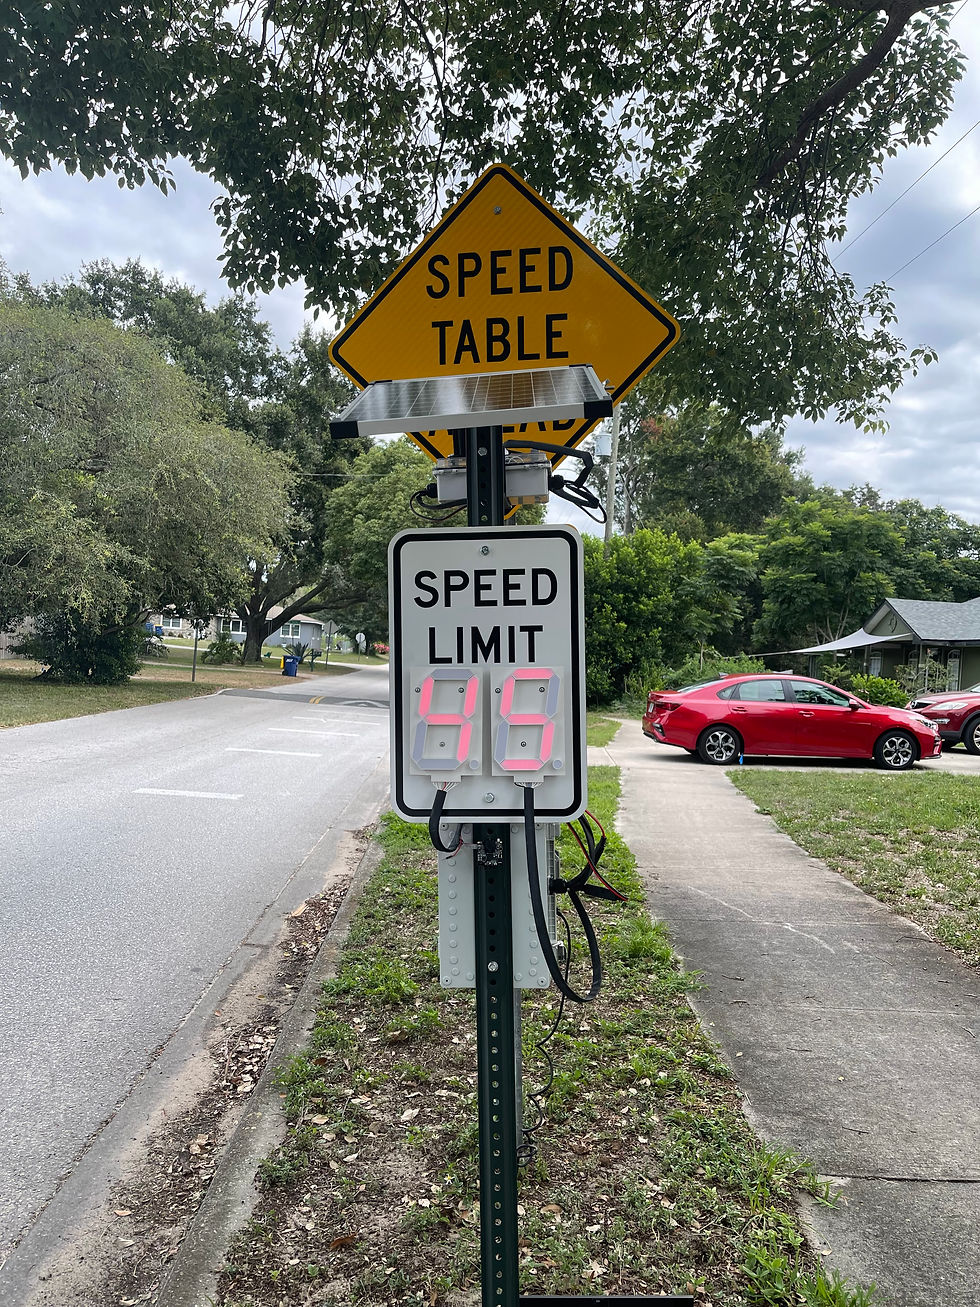
Beginning Roadway Tests
Controlled SHT30 Temp Sensor Test Trials
The aim was to focus on simulating conditions to confirm the limits of the roadway system i in regards to the SHT30 temperature sensor. Due to the location the system is being constructed and time of year, a controlled environment was constructed.
As far as the code, the output of the SHT30 Temp comes in form of 6 bytes of data. The data is collected an array of 6 positions, where each will contain different attributes of the data collected. The sensor provides temperature and humidity, however the system will only utilize the first two bytes that contain the temperature information. Below is the code created to test SHT30 temperature sensor.
//-------------------
// Beginning of Code
//-------------------
#define Addr 0x44
#include <Wire.h>
const int temp = A3; // Temperature Sensor connected to the pin A3
void setup() {
// sets the function of the pin
pinMode (temp, INPUT); // sets the pin A3 as input
Wire.begin();
Serial.begin(9600);
delay(1000);
}
void loop() {
// Initialize 6 bytes of data to be stored for the SHT30
unsigned int info [6];
// Sensor uses I2C Transmission
Wire.beginTransmission(Addr);
// Send measurement command
Wire.write(0x2C);
Wire.write(0x06);
// Stop I2C transmission
Wire.endTransmission();
delay(500);
// Request 6 bytes of data
Wire.requestFrom(Addr, 6);
// Read the 6 bytes of the sensor. The format consists of [Temp MSB, Temp LSB, Temp CRC, Humidity MSB, Humidity LSB Humidity CRC]
if (Wire.available() == 6){
info[0] = Wire.read();
info[1] = Wire.read();
info[2] = Wire.read();
info[3] = Wire.read();
info[4] = Wire.read();
info[5] = Wire.read();
}
// Initialized the analog input
float tempVal = ((((((sensor[0] * 256.0) + sensor[1]) * 175) / 65535.0) - 45) * 1.8) + 32;
Serial.print("The Temp Value is "); Serial.print(tempVal); Serial.print("\n");
For the actual tests, two controls were used, a Igloo Cooler and a digital thermomotor. The process was to fill the cooler with ice water and allow it to reach a steady temperature, approximately 2 minutes. After, place the temperature sensor in the cooler and monitor the temperature. The purpose was to see accuracy for the temp sensor to reach our threshold for the roadway system, 55 degrees F, and the durability of the sensor. The below video is one of the test trials as temp sensor approached the threshold.
After all the test trials, the following table was created to display the final temp sensor value for the reached by the SHT30 temp sensor. There were two trials ran per day.

After 10 trials, the temp sensor passed the success criteria for to its capability of reaching the desired threshold.
Updated Atmospheric Code
The previous atmospheric code worked but didn't include the
//-------------------
// Beginning of Code for Atmospheric Arduino
//-------------------
#include <Wire.h>
#define Addr 0x44
const int wind = A0; // Wind Sensor connected to the pin A0
const int light = A1; // Photosensor connected to the pin A1
const int rain = A2; // Rain Sensor connected to the pin A2
const int temp = A3; // Temperature Sensor connected to the pin A3
const int masterL = 4; // Master Arduino LSB connected to digital pin 4
const int masterM = 7; // Master Arduino MSB connected to digital pin 7
int masterVal = 0; // Variable to store the value
void setup() {
// sets the function of the pin
pinMode (wind, INPUT); // sets the pin A0 as input
pinMode (light, INPUT); // sets the pin A1 as input
pinMode (rain, INPUT); // sets the pin A2 as input
pinMode (temp, INPUT); // sets the pin A3 as input
pinMode (masterL, OUTPUT); // sets the pin 7 as output
pinMode (masterM, OUTPUT); // sets the pin 8 as output
Wire.begin();
Serial.begin(9600);
delay(10000);
}
void loop() {
// Initialize 6 bytes of data to be stored for the SHT30
unsigned int info[6];
// Start I2C Transmission
Wire.beginTransmission(Addr);
// Send measurement command
Wire.write(0x2C);
Wire.write(0x06);
// Stop I2C transmission
Wire.endTransmission();
delay(500);
// Request 6 bytes of data
Wire.requestFrom(Addr, 6);
// Read the 6 bytes of the sensor. The format consists of [Temp MSB, Temp LSB, Temp CRC, Humidity MSB, Humidity LSB Humidity CRC]
if (Wire.available() == 6){
info[0] = Wire.read();
info[1] = Wire.read();
info[2] = Wire.read();
info[3] = Wire.read();
info[4] = Wire.read();
info[5] = Wire.read();
}
// Initalized the analog inputs
int windVal = analogRead (wind);
int lightVal = analogRead (light);
int rainVal = analogRead (rain);
// Initalized the variables for rain sensor
int rainType = 0;
float tempVal = ((((((info[0] * 256.0) + info[1]) * 175) / 65535.0) - 45) * 1.8) + 32;
float windVolt;
float lightVolt;
digitalWrite(masterL, LOW);
digitalWrite(masterM, LOW);
// Convert analog inputs to read voltages
windVolt = windVal * 5.0 / 1023; // Converting input value to voltage
lightVolt = lightVal * 5.0 / 1023; // Converting input value to voltage
//The "if" condition for rainType (rainType 1 is light rain and rainType 2 is heavy rain)
while (rainVal < 500) {
for (int x = 0; x <= 1000000; x ++) {
if (x <= 600000) {
/* Creates a break in for there to be 10 mins before signaling the system.
Allows for constant rainfall */
continue;
}
if (rainVal < 200){
rainType == 2;
} else {
rainType == 1;
}
}
}
// The "if" condition of Setting masterVal to 2 (To Raise Speed Limit)
if (windVolt < 0.56 && lightVolt > 0.2 && rainVal > 500 && tempVal > 55) {
// masterVal is set to 2
masterVal = 2;
digitalWrite(masterL, LOW);
digitalWrite(masterM, HIGH);
Serial.print("The Wind Voltage is "); Serial.print(windVolt); Serial.print("\n");
Serial.print("The Light Voltage is "); Serial.print(lightVolt); Serial.print("\n");
Serial.print("The Rain Sense Voltage in mV is "); Serial.print(rainVal); Serial.print("\n");
Serial.print("The Temp Value in Fahrenheit is "); Serial.print(tempVal); Serial.print("\n");
Serial.print("Based of Atmosphereic Condition: Raise the Speed Limit"); Serial.print("\n");
Serial.print(masterL); Serial.print(masterM); Serial.print("\n\n");
}
// The "else if" condition statement will set masterVal to 1 (To Lower Speed Limit)
else if (rainVal <= 500 || windVolt > .52 && tempVal < 55 && rainVal > 500) {
// masterVal is set to 1
masterVal = 1;
digitalWrite(masterL, HIGH);
digitalWrite(masterM, LOW);
Serial.print("The Wind Voltage is "); Serial.print(windVolt); Serial.print("\n");
Serial.print("The Light Voltage is "); Serial.print(lightVolt); Serial.print("\n");
Serial.print("The Rain Sense Voltage in mV is "); Serial.print(rainVal); Serial.print("\n");
Serial.print("The Temp Value in Fahrenheit is "); Serial.print(tempVal); Serial.print("\n");
Serial.print("Based of Atmosphereic Condition: Lower the Speed Limit"); Serial.print("\n\n");
// Nested if_else statement to differentiate heavy and light rainfall
while (masterVal = 1) {
if (rainType = 2){
Serial.print("The System is experiencing Heavy Rainfall \n");
} else if (rainType = 1){
Serial.print("The System is experiencing Light Rainfall \n");
} else {
continue;
}
}
// The "else" condition statement will set masterVal to 0 (Remain at Default Speed)
} else {
// masterVal is set to 0
masterVal = 0;
digitalWrite(masterL, LOW);
digitalWrite(masterM, LOW);
Serial.print("The Wind Voltage is "); Serial.print(windVolt); Serial.print("\n");
Serial.print("The Light Voltage is "); Serial.print(lightVolt); Serial.print("\n");
Serial.print("The Rain Sense Voltage in mV is "); Serial.print(rainVal); Serial.print("\n");
Serial.print("The Temp Value in Fahrenheit is "); Serial.print(tempVal); Serial.print("\n");
Serial.print("Based of Atmosphereic Condition: No Change to the Speed Limit"); Serial.print("\n");
}
}
//-------------------
// End of Code for Atmospheric Arduino
//-------------------
Roadway System Test


Comments